You can move a washer and dryer yourself if you disconnect them correctly, secure the drum against shifting, and keep both appliances upright throughout transport. Skipping any one of those steps is how people end up with a flooded laundry room, a cracked drain pump, or a scratched hardwood floor on move-out day. This guide walks through the disconnection, transport, and reconnection process for both machines, since a washer and a dryer fail in very different ways when handled wrong.
Unlike a refrigerator, which mostly needs time to settle before it runs again, a washer carries standing water in its hoses and a drum that can slam against the frame if it is not locked down. A dryer is lighter and simpler, but its vent duct and gas or electrical connection cause their own headaches if you rush the disconnect. Treat them as two separate jobs that happen to travel together.
How Do You Disconnect a Washing Machine Before Moving It?
Shut off both water supply valves, run a short rinse-free cycle to relieve line pressure, then detach the hoses at the wall and drain any residual water into a towel or shallow pan. Doing this in the wrong order is the single biggest cause of water damage during appliance moves.
Start by turning off the hot and cold shutoff valves, usually located on the wall directly behind the machine. Run the washer briefly on a rinse setting with the valves closed so the internal hoses depressurize; this keeps water from spraying when you disconnect them. Unscrew the supply hoses at the wall first, not at the machine, and let them drain into a bucket. Leave a few inches of slack so you can coil the hoses and tape them to the back of the unit rather than letting them drag on the floor.
Finally, disconnect the drain hose from the standpipe or sink drain and let it empty completely. A washer that still has water sitting in the drain hose will leak the moment it gets tilted onto a dolly.
Why Do You Need to Lock the Drum Before Transport?
Most modern washers have an internal suspension system that lets the drum float during the spin cycle, and that same freedom of movement becomes a liability in a moving truck. If the drum is not restrained, it can swing hard enough to bend the suspension rods or crack the outer tub.
Check your owner's manual for shipping bolts or a transit bracket kit, which threads through the back panel to pin the drum in place exactly as it was shipped from the factory. If you no longer have the original bolts, a reasonable substitute is wedging thick towels or foam blocks between the drum and the cabinet on all sides, then taping the door shut so it cannot bounce open. This is not as reliable as factory shipping bolts, so drive gently and avoid hard braking if you go this route.
Front-load washers need this step more than top-load models, since their horizontal drum has more room to swing. Skipping it is the most common reason a washer starts making a loud banging noise the first time it is used at the new address.
How Do You Prepare a Dryer for the Move?
A dryer needs its vent duct detached, its power or gas connection safely capped, and its lint trap and drum cleared of debris before it goes on the truck. It is mechanically simpler than a washer but the vent connection and fuel line are easy to overlook.
For electric dryers, unplug the unit and coil the cord rather than letting it drag. For gas dryers, shut off the gas supply valve first and have a professional disconnect the flexible gas line if you are not confident doing it yourself; a slow leak from a poorly reseated fitting is a real safety risk, not just an inconvenience. Once disconnected, detach the foil or rigid vent duct from the back of the unit and set it aside to bring along, since duct connectors vary by home and yours may not fit the new laundry space.
Empty the lint trap and wipe down the drum interior. Leftover lint is a fire hazard in storage and an easy thing to forget once the dryer is buried in the back of a truck.
How Do You Load and Transport Both Appliances Safely?
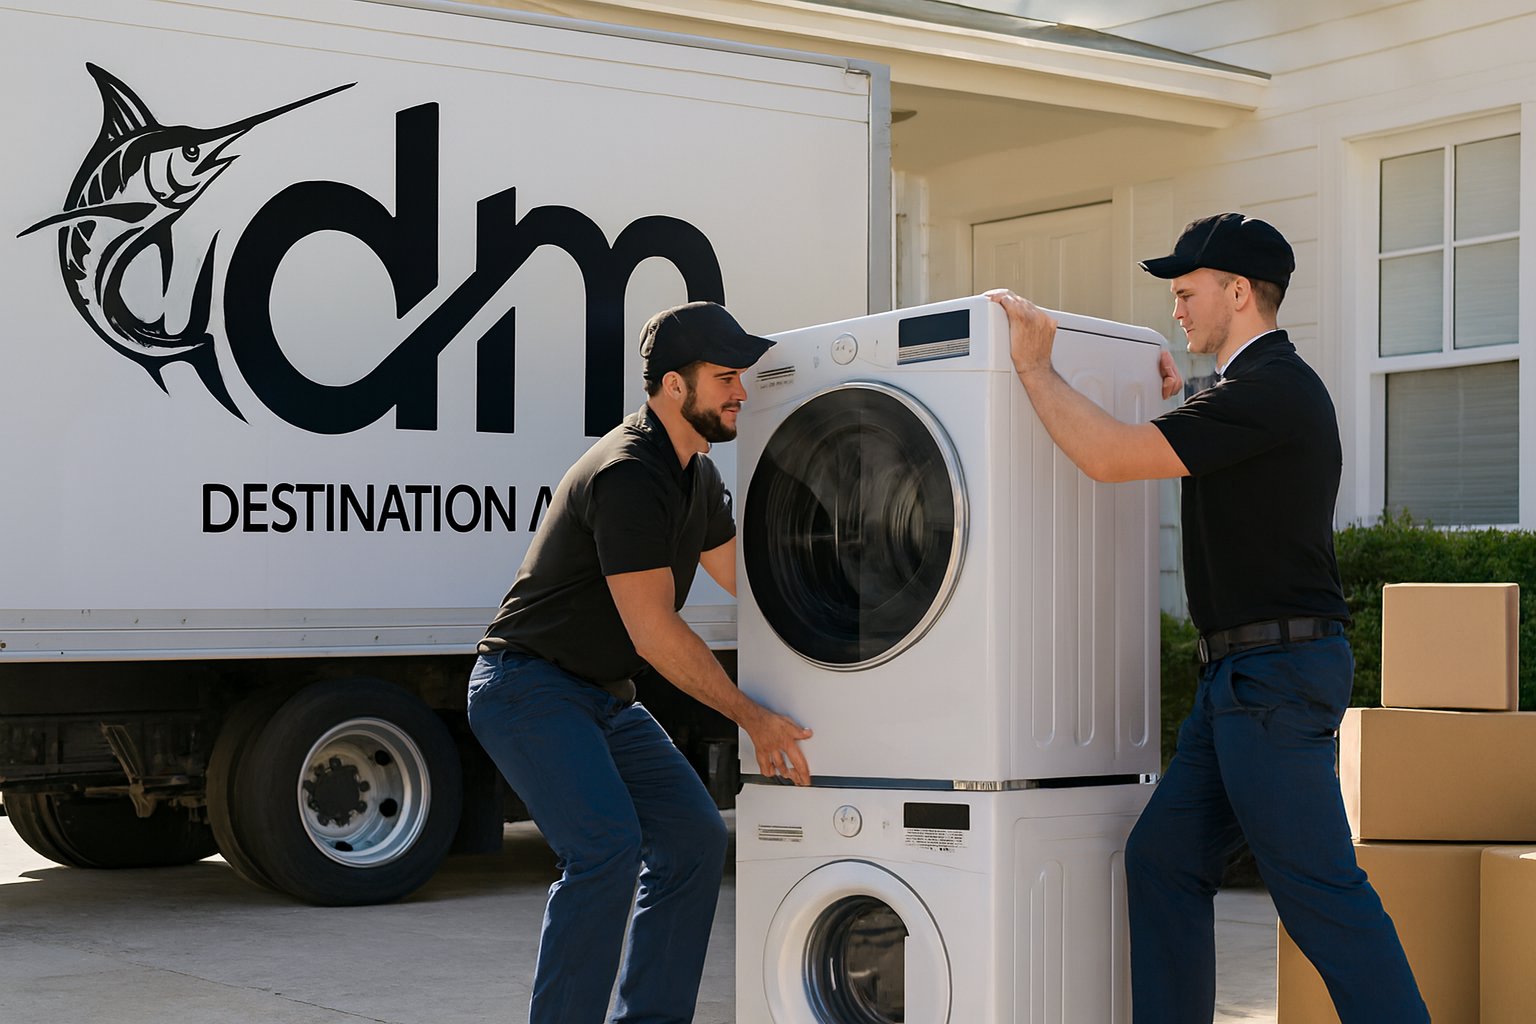
Use an appliance dolly with straps, keep both units upright at all times, and pad the corners before loading. Laying a washer on its side to save space is one of the fastest ways to damage the pump and internal wiring, even for a short trip.
Slide a moving blanket or old rug under the appliance's feet before rolling it, which protects hardwood and tile from scratches and lets it glide instead of scrape. Tilt the appliance back onto the dolly using the built-in lip, strap it snugly across the middle (not just at the top), and walk it slowly through doorways rather than trying to muscle it in one motion. In the truck, stand both appliances against the wall, strap them to the truck's rail if available, and avoid stacking anything heavy on top of the dryer, since its thin top panel dents easily.
If your laundry room is upstairs or the appliances need to go down a flight of stairs, this is where an extra set of trained hands makes the biggest difference. A washer's off-center weight distribution makes it prone to tipping on stairs, and that is a job better suited to professional loading and unloading assistance than to two people improvising with a hand truck.
How Long Should You Wait Before Running the Washer or Dryer Again?
Give the washer at least a few hours to settle before running a full cycle, and check that all hose connections are tight before you walk away from the first wash. This waiting period matters less for stability and more for catching a loose fitting before it floods the new laundry room unattended.
Reconnect the water hoses at the wall first, then the machine, and hand-tighten before giving each connection a final quarter turn with pliers, being careful not to overtighten and crack a fitting. Run a short cycle with no clothes inside and watch the connections for the first few minutes. For the dryer, reattach the vent duct securely with clamps rather than just tape, since a loose vent connection pushes hot, moist air into the wall cavity instead of outside.
If either appliance came from a long-distance move or spent time in a truck during extreme heat or cold, give it a bit longer to reach room temperature before running a cycle, similar to the advice given for other major appliances.
Is It Worth Hiring Movers for a Washer and Dryer?
For a short local move with no stairs, two capable people with a dolly can usually handle a washer and dryer safely. Once stairs, tight hallways, or a long-distance haul are involved, the math shifts toward hiring help, since a damaged drum or a cracked floor tile costs far more than the labor would have.
Weight is the deciding factor: a washer can run 150 to 250 pounds and is awkwardly top-heavy, which makes solo moving genuinely risky. If your move already includes other heavy items, it often makes sense to fold the washer and dryer into the same residential moving plan rather than treating them as a separate DIY project squeezed in around everything else.
Common Mistakes That Damage Washers and Dryers During a Move
The most frequent damage comes from three habits: tilting the washer more than 45 degrees, forgetting to secure the drum, and reconnecting the water lines without checking for leaks. Any one of these can turn a routine move into a repair bill.
- Laying the washer flat in a truck bed to save space, which can force water into the motor housing.
- Leaving the drain hose connected and dragging, which strains the fitting and can crack the drain pump housing.
- Using a standard dolly instead of an appliance dolly with a strap, which increases the odds of a drop on stairs.
- Skipping the shipping bolts or padding for the drum, leading to internal rattling and suspension damage.
- Forgetting to bring the vent duct and hose set, which means an unplanned trip to the hardware store on arrival.
If you are still working through the rest of your moving day plan, a look at how professional long-distance moving crews sequence heavy appliances alongside furniture can help you avoid scheduling the washer and dryer as an afterthought.