Knowing how to pack a home bar for moving is one of the most nuanced challenges in any residential relocation. From the doorway it looks manageable — a cabinet, some bottles, a set of glasses on a shelf. But once you take a full inventory, the real scope reveals itself: a carefully curated collection of spirits and wine that can shatter or leak without proper protection, crystal stemware and delicate cocktail glasses that shatter from the slightest impact, a built-in or freestanding bar cabinet that may be one of the heaviest pieces of furniture in the room, an ice maker or beverage refrigerator that requires its own appliance protocol, dozens of bar tools ranging from small loose items to bulky cocktail shakers, and a collection of mixers, bitters, and syrups that are both fragile and liquid. Pack a home bar without a deliberate plan and you risk broken glass, leaking bottles, ruined cabinetry, and an expensive collection arriving at your new home as a soggy, shattered mess.
Why the Home Bar Requires Its Own Packing Strategy
The home bar occupies a genuinely unusual category in any move. It combines the fragility of a china cabinet, the weight of a liquor store stockroom, and the mechanical complexity of a small appliance zone — all in one concentrated space. Most homeowners underestimate the preparation required because the bar looks compact. In reality, it often contains more breakable items per square foot than any other room in the house.
There are four specific reasons home bar packing goes wrong more often than people expect:
- High density of glass and crystal: Cocktail glasses, wine glasses, highball glasses, decanters, and crystal stemware are clustered together in a space designed for display, not transport. A single cabinet can hold dozens of fragile pieces that each require individual wrapping, careful nesting, and reinforced boxes to survive the journey.
- Liquor bottles are heavy, liquid, and breakable: A standard 750ml bottle weighs roughly three pounds. A fully stocked home bar can easily hold 30 or more bottles, creating close to 100 pounds of glass-encased liquid in a single zone. If a bottle breaks inside a box, it can saturate every other item in that container — and potentially leak through to items below.
- Appliances require pre-move preparation: A beverage refrigerator, wine cooler, or built-in ice maker must be emptied, defrosted, and dried before transport. Skipping these steps leads to water damage, mold, and voided appliance warranties. These steps take time and must be planned ahead, not handled on moving day morning.
- Bar furniture is deceptively heavy: Solid wood bar cabinets, back bars with mirrored panels, and pub-style tables are among the densest furniture pieces in a home. Many have glass-paneled doors or mirrored backs that must be removed and transported separately. Moving a bar cabinet without properly securing or removing those panels can result in shattered mirrors and damaged cabinetry that is costly to repair.
Working through the home bar in a structured sequence — inventory and decisions first, glassware second, bottles third, bar tools fourth, then appliances and furniture — keeps the process controlled and ensures that your bar arrives at your new home intact, organized, and ready to set up.
Step One: Inventory, Declutter, and Make Honest Decisions About Your Collection
Before you wrap a single glass or tape a single box, walk through your home bar with a critical eye. Moving is the single best opportunity to audit a collection that may have grown unchecked for years. Bottles that have been open for more than a year often lose their flavor profile. Mixers, bitters, and syrups all have expiration dates that are worth checking before you wrap them in paper and carry them to a new zip code.
What to Move, What to Leave Behind
Sealed, high-value spirits are always worth moving. Open bottles of everyday mixers, half-used syrups, and inexpensive spirits that are mostly empty are often not worth the packing effort, the weight, and the breakage risk. Be honest about what you actually use versus what has been sitting on the back shelf collecting dust. Donating or finishing open bottles before the move reduces weight, eliminates breakage risk, and simplifies the entire packing process.
Apply the same logic to glassware. If a set of cocktail glasses has been missing two members since last summer and you have never replaced them, this is the moment to let the remaining pieces go rather than individually wrapping four mismatched glasses that do not form a complete set at your destination.
Step Two: Pack Glassware and Crystal Carefully and Methodically
Glassware is the category that demands the most time per item and the most protective material per pound. Do not rush this phase. A set of eight crystal wine glasses represents a meaningful investment, and replacing them after a move because of improper packing is an entirely avoidable outcome.
Materials You Will Need
- Unprinted packing paper (newsprint transfers ink to glass and crystal)
- Bubble wrap for stemware and decanters
- Divider-cell boxes designed for glasses and stemware
- Cardboard sheet dividers for layering inside boxes
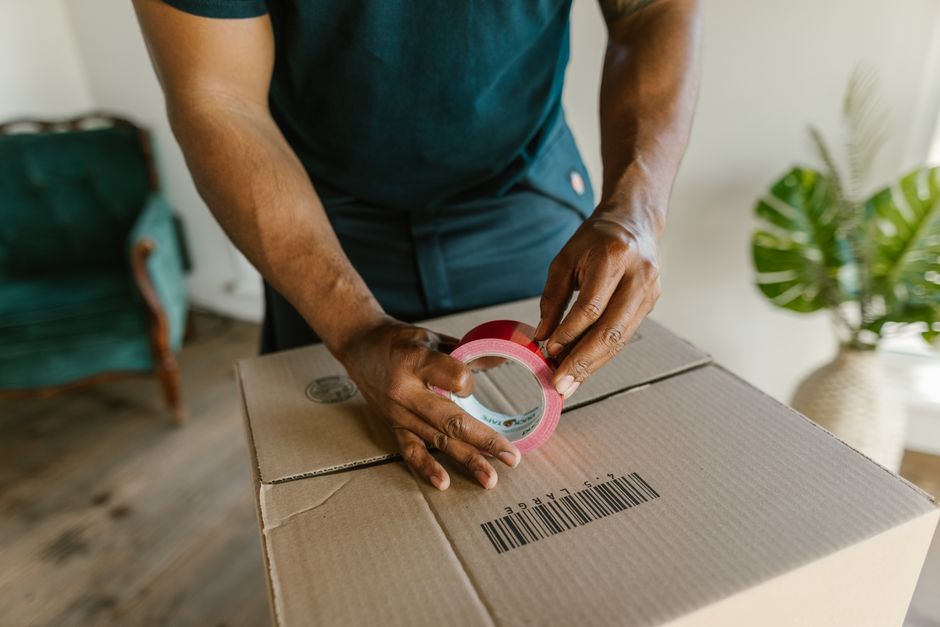
- High-quality packing tape
How to Wrap Individual Glasses
Place the glass at the corner of a sheet of packing paper and roll it diagonally, tucking in the ends as you go. For stemware, give the stem extra attention — wrap it separately in a tight layer of bubble wrap before rolling the whole glass in paper. Place wrapped glasses upright in divider-cell boxes whenever possible; glasses packed on their sides or stacked without dividers are significantly more likely to break in transit. Fill any empty space in the box with crumpled paper to prevent movement. Every box of glassware should be clearly labeled FRAGILE — GLASS — THIS SIDE UP on all four sides and the top.
Decanters and Specialty Barware
Decanters deserve individual boxes where possible. Wrap the body in two layers of bubble wrap, then layer packing paper around the outside. If a decanter has a separate glass stopper, wrap the stopper independently and place it in the same box, separated from the body by a thick layer of paper. Specialty barware — hand-blown pieces, antique bar accessories, or anything with an irregular shape — should be treated with the same level of care as fine china.
Step Three: Pack Liquor Bottles to Prevent Leaks and Breakage
Liquor bottles require a strategy that accounts for both breakage and leakage. Even a small crack in a bottle can result in alcohol saturating every other item in the box. The goal is to eliminate movement, cushion impact, and contain any potential leak before it spreads.
Securing Open Bottles
For any bottle that has been opened, wrap the cap or stopper tightly in plastic wrap before applying the outer packing material. This creates a secondary barrier if the cap is not perfectly sealed. Some movers use resealable plastic bags as an additional containment layer around the cap and neck of each open bottle. This step takes seconds per bottle and can prevent a catastrophic spill from ruining an entire box of other items.
How to Pack the Bottles Themselves
Wrap each bottle individually in two to three layers of packing paper or a sheet of bubble wrap. Specialty wine bottle boxes — available from liquor stores, moving supply retailers, and many grocery stores — are specifically designed to hold bottles upright with cardboard dividers between each one. These are the correct containers for a bottle collection. Do not pack liquor bottles in general-purpose boxes without dividers. Keep bottle boxes to a manageable weight — a box of 12 standard bottles can weigh 36 or more pounds, which is at the upper limit of what most people can safely carry. Consider packing in boxes of six to eight bottles to keep individual box weights reasonable.
What to Do With Wine
Wine is particularly sensitive to temperature and agitation. If you are moving locally and the transit time is short, wine can typically travel in divided wine boxes without significant risk. For long-distance or cross-country moves, consider whether a wine shipping service or temperature-controlled transport is appropriate for a valuable wine collection. Standard moving trucks are not climate controlled, and temperature extremes during a long haul can damage wine more than the physical transit itself.
Step Four: Handle Bar Appliances and Furniture Like the Specialty Items They Are
The appliances and furniture in a home bar are the heaviest, most mechanically complex elements of the move. Treating them as an afterthought — something to figure out on moving day — is one of the most reliable ways to create expensive problems.
Beverage Refrigerators and Wine Coolers
At least 24 hours before the move, empty the unit completely, turn it off, and allow it to reach room temperature. Wipe down the interior to remove moisture and prevent mold growth during transit. Secure any removable shelving with packing tape or remove the shelves entirely and wrap them separately. Transport the unit upright if at all possible — laying a refrigerator on its side can damage the compressor. If the unit must be transported on its side, allow it to stand upright for several hours before plugging it back in at the destination.
Bar Cabinets and Back Bars
Remove all contents from cabinet drawers and shelves before moving the cabinet — this is obvious but often overlooked in the rush of moving day. Remove any glass-paneled doors and wrap them in moving blankets, taping the blanket securely over the glass without taping directly to the glass surface. Mirrored back panels should be wrapped and transported vertically. Use furniture dollies and moving straps for heavy bar cabinets — these pieces are awkward to grip and significantly heavier than they appear. If the cabinet was assembled in place and cannot exit the room without disassembly, plan for that step well in advance and keep all hardware in labeled zip-lock bags taped to the piece itself.
Bar Stools and Pub Tables
Bar stools are straightforward but easy to damage in transit if legs are allowed to catch on other items or scrape against truck walls. Wrap each stool in a moving blanket and stack or nest them carefully. Pub tables with heavy bases should be disassembled if possible; table tops should be wrapped and transported vertically like other large flat surfaces.
Step Five: Pack Bar Tools and Accessories
Bar tools — cocktail shakers, jiggers, muddlers, strainers, bar spoons, bottle openers, and corkscrews — are small, numerous, and easy to scatter. Pack them together in a clearly labeled box so they arrive as a complete set rather than being discovered one at a time in random boxes over the following weeks.
Group tools by size and wrap sharp or pointed items individually in paper to prevent them from puncturing other materials or injuring whoever opens the box. Cocktail shakers, ice buckets, and other larger bar accessories can be nested together with paper separating contact surfaces. Keep mixers, bitters, and syrups in their own sealed box — preferably one lined with a plastic bag as a secondary containment layer in case a bottle or jar fails during transit.