Knowing how to pack a kitchen for moving is one of the most demanding challenges in any relocation. The kitchen is typically the most densely packed room in the home — it holds heavy appliances, fragile dishware, sharp utensils, liquids, and perishable food all within the same four walls. Pack it wrong and you risk cracked plates, leaking bottles, damaged appliances, and a chaotic unpacking experience. Pack it right and the entire move becomes measurably easier from start to finish.
Why the Kitchen Deserves Its Own Packing Strategy
Most rooms in a home have a single dominant category of item — clothes in a bedroom, books on a shelf, electronics in a living room. The kitchen is different. It combines almost every packing challenge in one space: weight, fragility, liquid content, sharp edges, and extreme size variation. A Dutch oven and a champagne flute require completely different packing approaches, yet both live in the same room.
There are four reasons kitchen packing trips people up more than any other room:
- Sheer volume: Most households significantly underestimate how many items they own in the kitchen. Cabinets that look manageable when closed can hold dozens of individual pieces when emptied out.
- Mixed fragility levels: Cast iron and ceramic sit side by side. Packing both in the same box without strategy leads to breakage every time.
- Liquids and spills: Cooking oils, vinegars, sauces, and cleaning products can leak and ruin every other box they touch if not handled carefully.
- Appliance complexity: Small and large kitchen appliances have cords, glass components, removable parts, and calibration-sensitive mechanisms that need attention before they go in a box or onto a truck.
A room-by-room, category-by-category approach removes the guesswork and protects everything you own.
The Right Supplies Before You Start
Attempting to pack a kitchen without the proper materials on hand is one of the most common — and most avoidable — moving mistakes. Before you open a single cabinet, gather the following:
- Small and medium moving boxes: Small boxes are ideal for heavy items like pots, pans, and canned goods. Medium boxes work well for lighter dishware and pantry items. Avoid large boxes in the kitchen — they become dangerously heavy fast.
- Packing paper (unprinted newsprint): The workhorse of kitchen packing. Use it to wrap individual items, create cushioning layers, and fill void space. Avoid printed newspaper, which transfers ink to dishware.
- Bubble wrap: Reserve it for genuinely fragile items — stemware, glass lids, ceramic bakeware — where packing paper alone may not provide enough impact absorption.
- Dish pack boxes: These are double-walled, heavy-duty boxes specifically designed for dishware. They are worth the extra cost if you have a large collection of plates, bowls, or serving dishes.
- Stretch wrap or Press'n Seal: Invaluable for sealing lids onto pots and containers, bundling utensils, and wrapping appliances that have detachable parts.
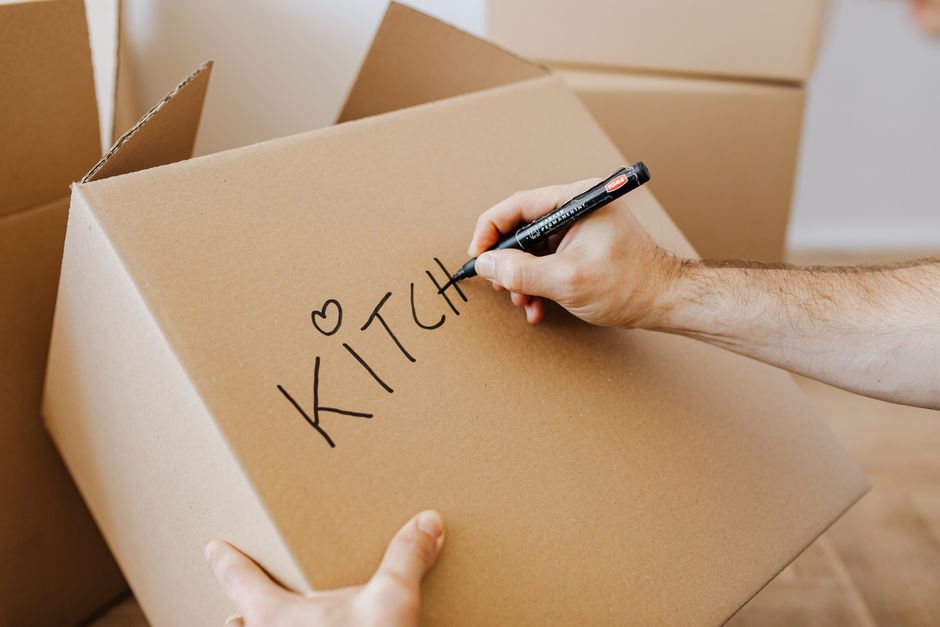
- Permanent markers and labels: Label every box with its contents and the room it belongs to. In the kitchen especially, marking boxes "FRAGILE — THIS SIDE UP" can make a real difference in how movers handle them.
- Ziplock bags: Use these to collect hardware, cords, and small removable parts from appliances so nothing gets lost in transit.
How to Pack Kitchen Items Category by Category
The most efficient approach to packing a kitchen is to work through it by category rather than by cabinet. This keeps like items together, makes boxes more consistent in weight and fragility level, and makes unpacking at the other end far more logical.
Pots, Pans, and Bakeware
Heavy cookware is one of the few kitchen categories where you do not need to wrap every individual item. Pots and pans can be nested inside each other — place a sheet of packing paper between each piece to prevent scratches — and loaded into small or medium boxes. Cast iron should always go in its own small box and placed at the bottom of any stack due to its extreme weight.
Lids are the exception: glass lids should be wrapped individually in packing paper and packed vertically on their edges inside a box, not laid flat. A flat glass lid can crack under pressure in a way that a vertically oriented one typically will not. Silicone and metal lids can be wrapped more loosely and nestled around other items.
Plates, Bowls, and Serving Dishes
Plates are deceptively easy to break during a move. The single most important rule: always pack plates vertically, standing on their edges like records in a crate, never stacked flat. When plates are stacked horizontally, every bump in the road transmits its force directly through the stack, and the plates at the bottom absorb the most stress.
Wrap each plate individually in two to three sheets of packing paper. Start in a corner of the paper, place the plate face-down, fold the paper across the plate, then roll it until the plate is fully wrapped. Place a two-inch layer of crumpled packing paper on the bottom of the box before adding wrapped plates. Fill any gap along the top with additional crumpled paper so that nothing can shift when the box is sealed.
Bowls can be nested in pairs or threes — wrap each individually first, then nest the wrapped bowls together and wrap the entire stack again as a unit. Large serving dishes and platters should be treated like oversized plates: wrapped individually and packed vertically.
Glasses and Stemware
Glasses and stemware are the most fragile items in most kitchens. Everyday drinking glasses can be wrapped in two to three sheets of packing paper and placed in a box with generous cushioning between rows. For stemware — wine glasses, champagne flutes, cocktail glasses — bubble wrap provides better protection than paper alone. Wrap the stem first, then spiral the wrap up over the bowl of the glass.
Pack glasses upright rather than upside down. Use cell divider inserts inside your box if you have them — many dish pack boxes come with these dividers, and they are worth using. Never nest unwrapped glasses inside each other during a move; the rims are the most vulnerable point and can chip or crack on contact.
Pantry Items and Food
The pantry is where many movers run into surprise problems. Canned goods are heavy and should go in small boxes only — a box of cans exceeds safe carrying weight quickly. Dry goods like pasta, rice, and cereal should be sealed in airtight bags or containers before packing to prevent spills inside boxes.
Liquids deserve their own strategy entirely. Cooking oils, vinegars, sauces, and other bottled liquids should be sealed with Press'n Seal or cling film under their caps, then wrapped in plastic bags before going into a box. Even then, pack liquid bottles upright and consider transporting them in your personal vehicle rather than the moving truck. A single burst bottle of olive oil can saturate and destroy an entire box of other items.
Be honest about perishables. Anything from the refrigerator or freezer that cannot safely travel more than a few hours without refrigeration should be consumed, donated, or discarded before the move rather than packed. Most moving companies will not transport perishables, and the resulting mess is rarely worth the effort of trying.
Small Appliances
Small appliances — toasters, blenders, coffee makers, air fryers, stand mixers — each have their own packing considerations. The ideal scenario is to use original manufacturer packaging with its custom foam inserts. If you no longer have those boxes, wrap each appliance in several layers of packing paper or bubble wrap before placing it in a box.
Remove any detachable parts — blender jars, coffee carafes, mixer attachments — and pack them separately. Wrap glass components in bubble wrap. Coil cords neatly and secure them with a twist tie, then tape the coiled cord to the underside of the appliance or place it in a labeled ziplock bag inside the same box. Label the box clearly with the appliance name so you can prioritize unpacking it at the other end.
Knives and Sharp Utensils
Kitchen knives are a safety hazard during a move if not packed carefully. Never wrap knives loosely in paper and place them in a box where someone could reach in and be cut. Instead, wrap each knife individually in several layers of packing paper, fold the paper at the blade end and secure it with tape to create a secure sheath. Group wrapped knives together and secure the bundle with additional paper or bubble wrap, then label the box "SHARP — HANDLE WITH CARE."
Knife blocks can be transported as-is with knives inside if the block is wrapped securely and packed upright in a box where it cannot tip over. Utensil holders with non-sharp contents can simply be emptied into a box layered with packing paper.
What to Pack Last and What to Move Yourself
Some kitchen items are best saved for the very end of your packing or transported in your personal vehicle rather than the moving truck. These include:
- Everyday essentials: Keep one set of plates, glasses, mugs, and basic utensils accessible until the final morning of the move. Pack them into a clearly labeled "open first" box so they are ready the moment you arrive.
- Coffee maker and kettle: Most people want coffee on moving morning. Keep these accessible and pack them last.
- Valuables and irreplaceable items: Any kitchen item with significant sentimental or monetary value — a grandmother's china set, a high-end espresso machine — is worth transporting in your personal vehicle if at all possible.
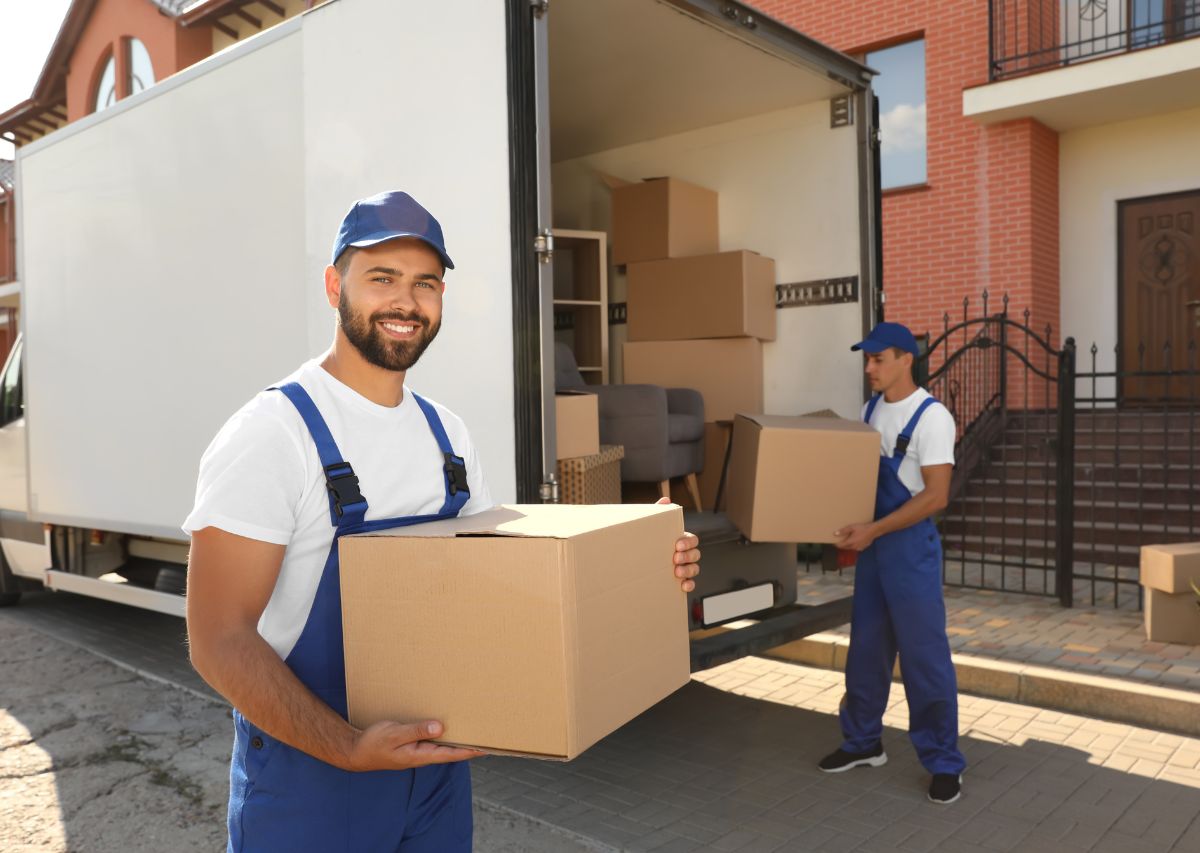
- Hazardous materials: Propane canisters, lighter fluid, certain cleaning chemicals, and similar items cannot be transported by most professional movers due to safety regulations. Check with your moving company before packing any item that might fall into this category.
Labeling Your Kitchen Boxes for a Smooth Unpack
Thorough labeling transforms the unpacking experience from exhausting to manageable. For kitchen boxes specifically, go beyond just writing "kitchen" on the side. Note the contents ("everyday plates — 8 pieces"), the destination in the new kitchen ("lower left cabinet"), and any handling instructions ("fragile — pack vertically" or "heavy — team lift").
Use a consistent system: one color of marker for fragile boxes, another for heavy ones, and a third for "open first" priority boxes. Alternatively, colored label stickers work well and are easy to read from a distance when boxes are stacked. Whatever system you choose, explain it clearly to your movers on moving day so they can handle and place boxes appropriately.
The kitchen is almost always the hardest room to unpack at the new home because of how many individual items must be placed thoughtfully. Good labeling on the way out means you are not hunting through a dozen boxes to find the coffee mugs at 7 a.m. on your first morning.