Knowing how to pack a laundry room for moving is one of the most frequently skipped steps in any relocation plan. At first glance the laundry room seems like it will take thirty minutes — a washer, a dryer, a shelf of detergent, and a few baskets. But when you work through what actually lives in that space, the scope grows quickly: a front-load washer with a drum that must be secured before transport, a dryer that may be gas-connected and requires professional disconnection, shelves lined with liquid detergents that can leak, aerosol sprays that cannot ride in a hot moving truck, ironing equipment, drying racks, and a surprising volume of miscellaneous household chemicals that have accumulated over years of ownership. Pack it without a strategy and you risk a damaged washer drum, a gas leak, a chemical spill inside your truck, or a washing machine that costs more to repair after the move than it would have cost to replace.
Why the Laundry Room Requires Its Own Packing Strategy
The laundry room sits in an awkward category — it is not as glamorous to plan for as the kitchen or bedroom, so most people deprioritize it. That deprioritization is exactly what causes moving day problems. The laundry room combines some of the heaviest appliances in the home with some of the most regulated and potentially hazardous products a household stores.
There are four specific reasons laundry room packing goes wrong more often than people expect:
- Appliance preparation requirements: Washing machines must have their drums stabilized with shipping bolts or drum braces before transport. Without this step, the drum can bang freely inside the unit during the move, damaging internal components — and repairs are often expensive. Dryers, particularly gas dryers, must be properly disconnected and the gas line capped before any moving crew is permitted to handle them.
- Gas and electrical connections: Gas dryers cannot simply be unplugged like an electric model. Disconnecting a gas appliance requires shutting off the gas supply at the correct valve and — in most cases — having a licensed professional or at minimum a knowledgeable person cap the line. Moving forward without doing this is a safety hazard that no reputable moving company will ignore.
- Liquid and chemical products: Liquid laundry detergent, fabric softener, bleach, stain removers, and dryer cleaning solutions are all prone to leaking during a move. Bleach, in particular, is a corrosive substance that can destroy clothing, flooring, and other items in the truck if a bottle is punctured or simply tips over. Many aerosol products are also flammable and subject to transport restrictions.
- Overlooked volume of supplies: Laundry rooms tend to accumulate far more than people realize — spare dryer sheets, multiple detergent bottles at different stages of use, shelf liner rolls, garment steamers, ironing boards, and lint brushes. Without auditing the space deliberately, you will find yourself packing these items chaotically at the last minute.
Working through the laundry room zone by zone — appliances first, then chemical and liquid supplies, then dry goods and equipment, then the room itself — keeps the process controlled and prevents the rushed mistakes that cause the most serious damage.
Step One: Audit and Declutter Before You Touch a Single Box
The laundry room is one of the best places in the home to declutter before a move. Because it is a utility space rather than a living space, it tends to accumulate half-used products, duplicate items, and equipment that has outlived its usefulness without anyone noticing.
Questions to Ask About Every Laundry Room Item
- Is this product more than halfway used? Partially used bottles of detergent, fabric softener, and stain spray are prime candidates for using up before the move rather than packing and transporting.
- Is the container sealed and intact? Any bottle that is leaking, cracked, or missing its original cap should be disposed of properly rather than packed — the risk of a spill in transit is too high.
- Do I have duplicates? Laundry rooms often contain two or three open bottles of the same product. Consolidate where possible; move day is not the time for redundancy.
- Is this item hazardous or restricted? Aerosol sprays, bleach-based products, and certain stain removers may be subject to transport restrictions depending on your moving company's policies. Check before you pack.
- Is the equipment still working and worth moving? An old iron that barely functions, a steamer with a broken water tank, or a drying rack with missing pegs may not be worth the effort of packing and unpacking.
Donating unopened, unexpired laundry products to a local shelter or food bank is a practical option for items you decide not to move. Many organizations actively accept these donations.
Step Two: Prepare Your Washer and Dryer for Transport
The washer and dryer are the centerpiece of the laundry room — and they require more preparation than almost any other appliance in the home. Skipping this step is one of the most common and costly mistakes people make when moving.
Preparing the Washing Machine
Several days before the move, run a cleaning cycle on the washer to flush out any residual detergent and water. On the day before the move, disconnect the water supply hoses from the wall valves — have a bucket and towels nearby, as residual water will drain from the hoses. Drain any water remaining in the hoses completely and allow them to dry overnight if possible. Then, and this is critical, reinstall the shipping bolts that came with the machine when it was originally purchased. These bolts stabilize the drum so it cannot move during transport. If you no longer have the original shipping bolts, contact the manufacturer or a local appliance dealer — many can supply replacements. Moving a washing machine without drum stabilization is the single most avoidable cause of washer damage during a move.
Preparing the Dryer
For an electric dryer, unplug the unit and disconnect the dryer vent hose from the wall. Clean the vent hose if possible — lint accumulation in a vent hose is a fire hazard at any time, and moving is a natural opportunity to address it. For a gas dryer, do not attempt to disconnect the gas line yourself unless you are experienced and confident doing so. Shut off the gas supply at the dedicated shutoff valve behind the dryer, then have a qualified professional disconnect and cap the gas line before moving day. Once disconnected, tape the power cord and any hoses to the back of the unit so they do not drag or snag during the move.
Protecting Both Appliances During the Move
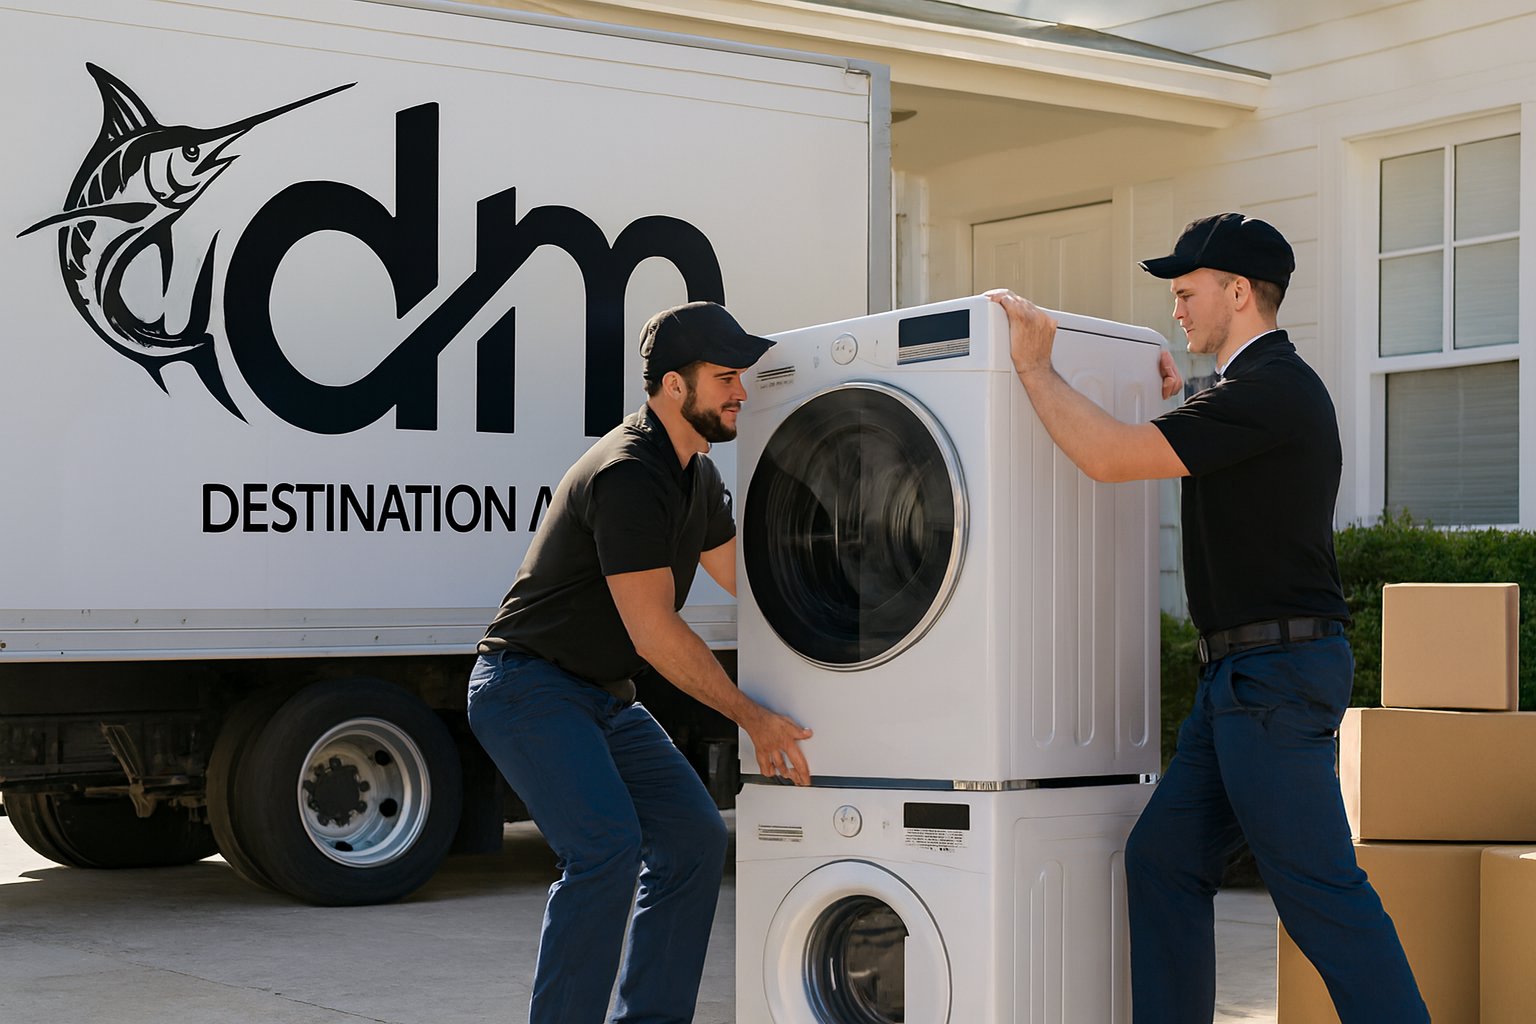
Wrap the exterior of both the washer and dryer in moving blankets to protect against scratches and dents. Use appliance dollies rather than standard furniture dollies — they are designed to handle the weight and shape of laundry appliances. Keep both units upright throughout loading and transport; laying a washer on its side can damage drum bearings and internal components.
Step Three: Pack Laundry Supplies Safely
Laundry supplies are deceptively tricky to pack. They are heavy, prone to leaking, and in some cases subject to transport restrictions. Approaching them methodically prevents the most common problems.
Liquid Detergents and Fabric Softeners
Check that every bottle cap is fully tightened. Place each liquid bottle inside an individual zip-lock bag before packing — this provides a first line of defense if a cap loosens during transit. Pack liquid products upright in a small, sturdy box. Do not mix liquid laundry products with dry goods, electronics, or anything porous in the same box. Label the box clearly as liquids — keep upright and make sure your moving crew knows to handle it accordingly.
Bleach and Cleaning Chemicals
Bleach is a corrosive substance that should be transported with particular care — or not at all. If a bleach bottle is partially used, it is often more practical to use it up, give it away, or dispose of it safely before the move rather than risk a spill in the truck. If you choose to move bleach, place it in a sealed zip-lock bag, then inside a secondary container (a small plastic bin with a lid works well), and keep it completely isolated from any other contents. Never pack bleach in the same box as other products.
Aerosol Products
Aerosol spray starch, fabric spray, and certain stain removers come in pressurized cans. These products can be dangerous when exposed to heat, particularly inside a sealed moving truck on a warm day. Check with your moving company about their specific policies on aerosol transport. In general, if a can is nearly empty, it is safer to finish using it or dispose of it before the move.
Dry Goods and Non-Hazardous Supplies
Dryer sheets, washing machine cleaning tablets, mesh laundry bags, and similar dry goods can be packed straightforwardly in medium boxes. Group like items together, fill any empty space with packing paper to prevent shifting, and label each box clearly with its contents and destination room.
Step Four: Pack Laundry Equipment and Room Accessories
Beyond the washer, dryer, and supplies, the laundry room typically contains a range of equipment and accessories that each requires its own brief attention.
Ironing Boards and Irons
Most ironing boards fold flat and can be wrapped in a moving blanket or stretch wrap for protection during transit. Remove any fabric covers before wrapping and pack them separately. For the iron itself, ensure the soleplate is completely cool and clean before wrapping. Wrap the iron in packing paper, then in bubble wrap, and pack it in a small box with the cord tucked alongside it. Never pack a warm iron — the residual heat can damage whatever it is wrapped in.
Garment Steamers
Empty the water reservoir completely before packing — residual water in a steamer can leak or develop mold if the unit is stored in a truck for any period of time. Wrap the steamer body in packing paper and bubble wrap and pack it in its original box if available, or in a snug medium box with adequate padding on all sides.
Drying Racks and Laundry Baskets
Collapsible drying racks can be folded and wrapped in stretch wrap to keep them compact. Laundry baskets are useful as packing containers — fill them with soft items like dryer sheets, laundry bags, and rolled cloths, then wrap the basket in stretch wrap to hold everything in place during the move.
Shelving and Wall-Mounted Accessories
Remove any wall-mounted drying rods, hook systems, or shelving units carefully and bag the hardware immediately. Keep all screws, anchors, and brackets in a labeled zip-lock bag taped to the item they belong to. This simple step — which takes under a minute — prevents an hour of frustration when you are trying to remount the same shelf in your new laundry room.
How to Time Your Laundry Room Packing
The laundry room requires a longer lead time than most people allow, primarily because of the appliance preparation steps that need to happen before moving day itself.
- Two to three weeks before the move: Audit all laundry supplies and begin using up or donating partially used products. Confirm whether your dryer is gas or electric and schedule a professional gas disconnection if needed.
- One week before the move: Source shipping bolts for the washer if you no longer have the originals. Confirm your moving company's policies on transporting laundry chemicals and aerosols.
- Two to three days before the move: Run a washer cleaning cycle. Begin packing dry goods and non-hazardous laundry supplies.
- The day before the move: Disconnect water supply hoses from the washer and allow them to dry. Install shipping bolts in the washer drum. Pack all remaining laundry supplies. Disconnect the dryer vent hose.
- Moving day: Have the gas dryer line disconnected (if not done the day before). Wrap both appliances in moving blankets. Load them last among the laundry room items so they come off the truck first and can be positioned in the new laundry room before smaller items crowd the space.